
10 Different Types of Wall Textures to Consider

If you’re remodeling your home and you’re considering something unique for your wall texture, there are a lot of different styles to choose from. Each have their advantages and drawbacks, but all of them are beautiful in their own way. Here are 10 wall textures to consider.

1. Comb
Comb textures are popular for those who favor highly stylized wall surfaces and they are created through techniques which create lines of varying widths. The most common type of comb texture results in a rainbow like image repeated at various angles on drywall.
To obtain the shape of a rainbow arc, experiment with a trowel with a series of small teeth to make the lines. It is preferable to have two people working on the creation of this texture as one will use a sprayer or roller and a comber. One person will apply the mud and the other can create the pattern while the mud is still wet.

2. Popcorn
The popcorn texture is generally reserved for ceilings. It works very well for covering uneven ceiling tiles or other flaws which are no easily repaired This style is also referred to as a cottage cheese texturing. It can also be applied to walls.
This texture has the additional benefit of dampening sound because it requires a thick application. This style of texturing is retro from the era of the 1960s through the 1980s. One of the drawbacks to using this texture is that it is difficult to remove. It is applied with a compressor and texture sprayer with popcorn ceiling texture mix that is purchased.
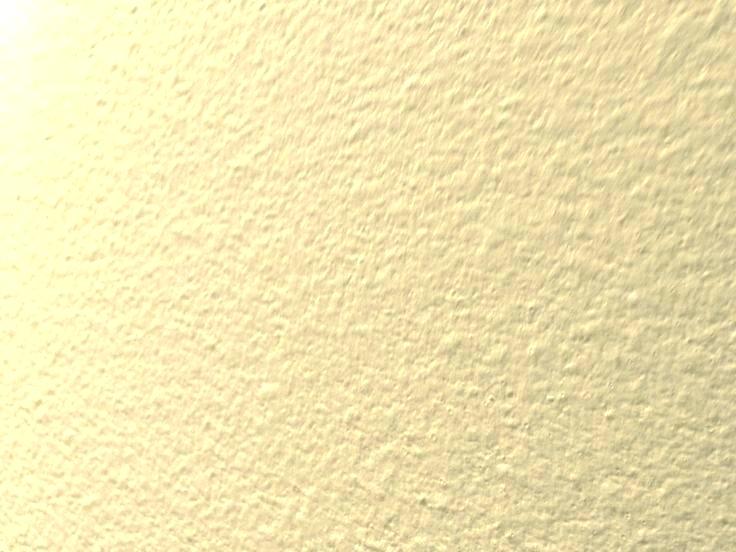
3. Orange Peel
Orange peel texturing is one of the most common basic wall textures, however, according to Modernize, you will need to take a few steps before diving into to texturing your walls. You’ll need to sand, clean, and prime the walls first before you begin. Orange peel got its name from the dimpled type texture that resembles the rind of an orange.
To make this type of texture, drywall mud is used and thinned with water to a thick liquid consistency. It is applied with a compressor and sprayer and then a very thick nap roller is used to go over the surface. The first coat is allowed to dry and then a second coat is applied.

4. Sand Swirl
This type of wall texture is another common and popular pattern that can take a little practice to perfect. Two people are needed to create the style. One person rolls on a perlite primer which is mixed with sand while the second creates an arched patterns. The patterns are created by making a series of rounded hand motions, but a brush may be used to create a pattern that is a bit looser.

5. Knockdown
The Knockdown style of texturing is easy as a DIY project. This texture is used to add dimension and warm to drywall. It looks like a stucco finish. To create this pattern, you go through the steps that you use for the orange peel style but just prior to the walls drying, take a finishing knife and go over the mud to know off the bumps and partially smooth them over. It’s a lot messier than the orange peel but it creates a highly contemporary wall texture.

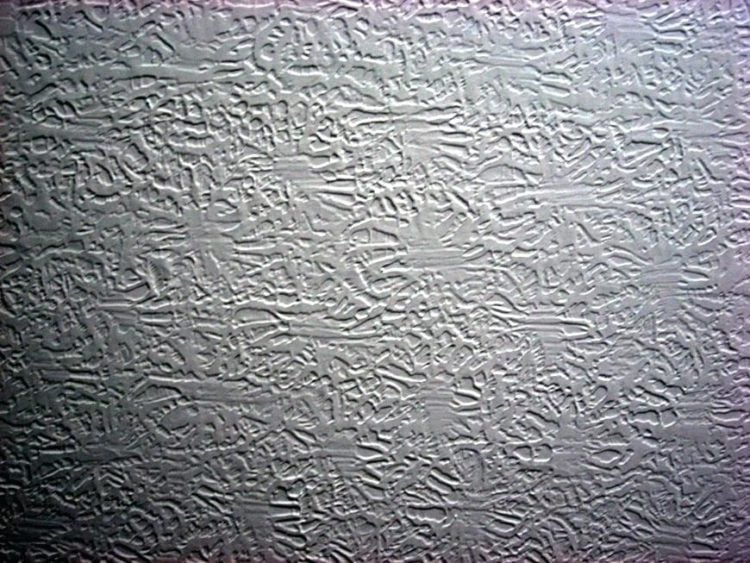
6. Skip-Trowel
This style is similar to the knockdown texturing but there is a difference. You create this pattern by using a skip trowel to apply the mud directly to the drywall by hand. Generally an 18 inch curved knife is applied in very thin layers to the drywall.
It takes a little practice but when you angle the knife just right the knife skips across the drywall onto the surface and leaves behind a lovely texture that is multilayered in small round circles that are spread over each other.
One thing to consider before applying the mud, is the consistency, Home Guides explains. Too runny and it will just slide down the walls. On-the-other-hand, too thick and it will not spread easily and will be hard to spread the mud evenly and consistently over the drywall.

7. Slap Brush
Slap brush texturing consists of a variety of patterns with brushes which you push up against the mud after it has been applied to the walls. You can get a variety of different patterns depending on the type of brush that you use and the slapping technique that is implemented.

8. Rosebud
The rosebud texturing is a form of the slap brush texture. This pattern of texturing is created by using a brush to make circles in the wet mud to create the pattern of rosebuds.
This is done in a series of repeating patterns and it should be practiced on an old piece of drywall until you get it right. According to Drywall 101 this is not only an easy wall texture to apply, but it’s a great texture technique for hiding imperfections across the surface of the drywall, while giving it visual appeal.
9. Crows feet
This style of texturing is created by applying wet mud to clean drywall and using a brush with stiff bristles. you push the mud upwards to form what looks like crows feet, hence the name of the pattern. The major drawback to this design is that it’s easy for dust to settle into the deep grooves of the texturing. On the plus side, it’s a modern and attractive texturing.

10. Stomp Brush
The Stomp brush texture is accomplished by applying wet mud to drywall. Using a brush with long bristles on a rounded brush is the best way to accomplish the stomp brush. Simply push upwards into the mud with the rounded brush and repeat the pattern until the entire wall is textured.
Keep in mind that texturing walls is a learned trait that takes practice, according to the Balance SB. Don’t expect you will be able to master the skill right away. Read tips and tricks from the experts to lend you a helping hand.
You can also read:


